
Ever stared up at a freshly painted ceiling and noticed unsightly streaks or uneven patches? You’re not alone. Many homeowners dive into ceiling painting with enthusiasm, only to encounter frustrating pitfalls. Achieving a flawless, professional finish, however, is within reach with the right knowledge and techniques. Let’s explore the often-overlooked steps that transform a simple ceiling into a stunning focal point.

The Foundation: Preparing for Perfection
Professional painters universally agree that thorough preparation is key. Before applying any paint, ensure your ceiling is clean and ready.
- Essential Preparation Steps:
- Clear the room of furniture, or cover it thoroughly.
- Clean the ceiling to remove dust, dirt, and grime.
- Safely remove ceiling fixtures, after shutting off power.
- Protect floors, walls, and trim with drop cloths and tape.
- Repair any ceiling damage (patch holes, cracks) before priming.

Photo Source: Paint Gnome
Choosing the Right Tools (and Understanding Why!)
Investing in quality tools ensures a professional finish and makes the job smoother.
- Tool Selection:
- Use quality brushes and rollers suited to the paint type and ceiling texture.
- Select nylon/poly brushes for latex paint, and natural-bristle brushes for oil-based paints.
- Opt for a low nap roller for smooth ceilings, and a 1/2-inch nap roller for textured ceilings.
- Utilize an extension pole for safe and comfortable reach.
The Importance of Primer (Never Skip This!)
Primer is essential for proper adhesion and color vibrancy.
- Primer Application:
- Address stains with appropriate primers (oil-based for water, shellac-based for others).
- Consider a 2-in-1 paint and primer for convenience.
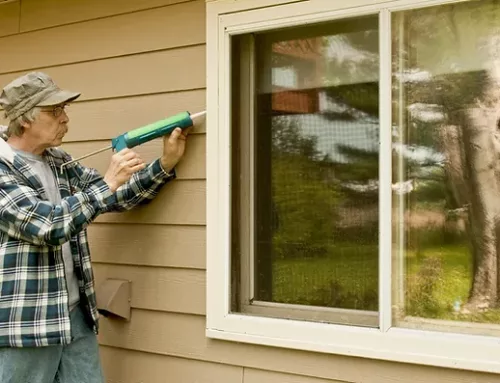
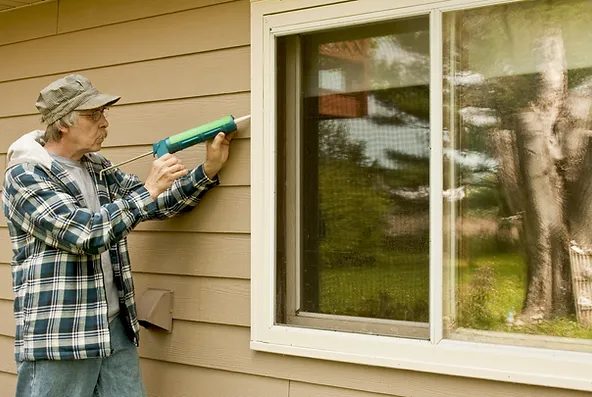
- Prime edges carefully for a smooth transition.

Photo Source: Renaissance Painting
Painting Techniques for a Flawless Finish
- Painting Best Practices:
- Maintain a wet edge.
- Paint in grid sections.
- Use consistent roller direction.
- Address drips immediately.
- Apply a second coat after the first dries.
- Ensure adequate lighting.
- Prevent wall smudges.
- Load brushes properly.
- Avoiding Common Mistakes:
- Don’t rush the second coat.
- Ensure you have sufficient paint.
- Store paint properly.
- Clean brushes and rollers after use.
- Achieving Professional Results:
- Use ceiling-specific paint (flat white hides imperfections).
- Choose colors wisely.
- Test rolls on textured ceilings.
- Consider professional help for high ceilings or complex tasks.
Considering Professional Help?
Have you ever started a “small” home project only to have it become much more difficult and take much more time than you expected? That’s a typical outcome of trying to DIY an interior paint job.
Because your home’s interior is unique, painting it requires a level of precision that can be hard to come by while still maintaining your budget. Thanks to Liberty Painting, finding a reliable interior painting contractor is easy and affordable. We offer perks not found at many other painting companies, including upfront pricing, fast turnaround times, punctual crews, and thorough prep work and cleanup.
By following these tips and avoiding common mistakes, or by trusting the professionals at Liberty Painting, you can achieve a professional-quality ceiling paint job that enhances your home’s beauty and ambiance. Get a free quote today!


