Key Takeaways
- If you limewash your house, you can enjoy a natural, timeless texture and character.
- Different space applications can create unique moods, whether you limewash your living room, bedroom, kitchen, or dining room.
- Limewash is a breathable, eco-friendly material that develops a gorgeous patina over time.
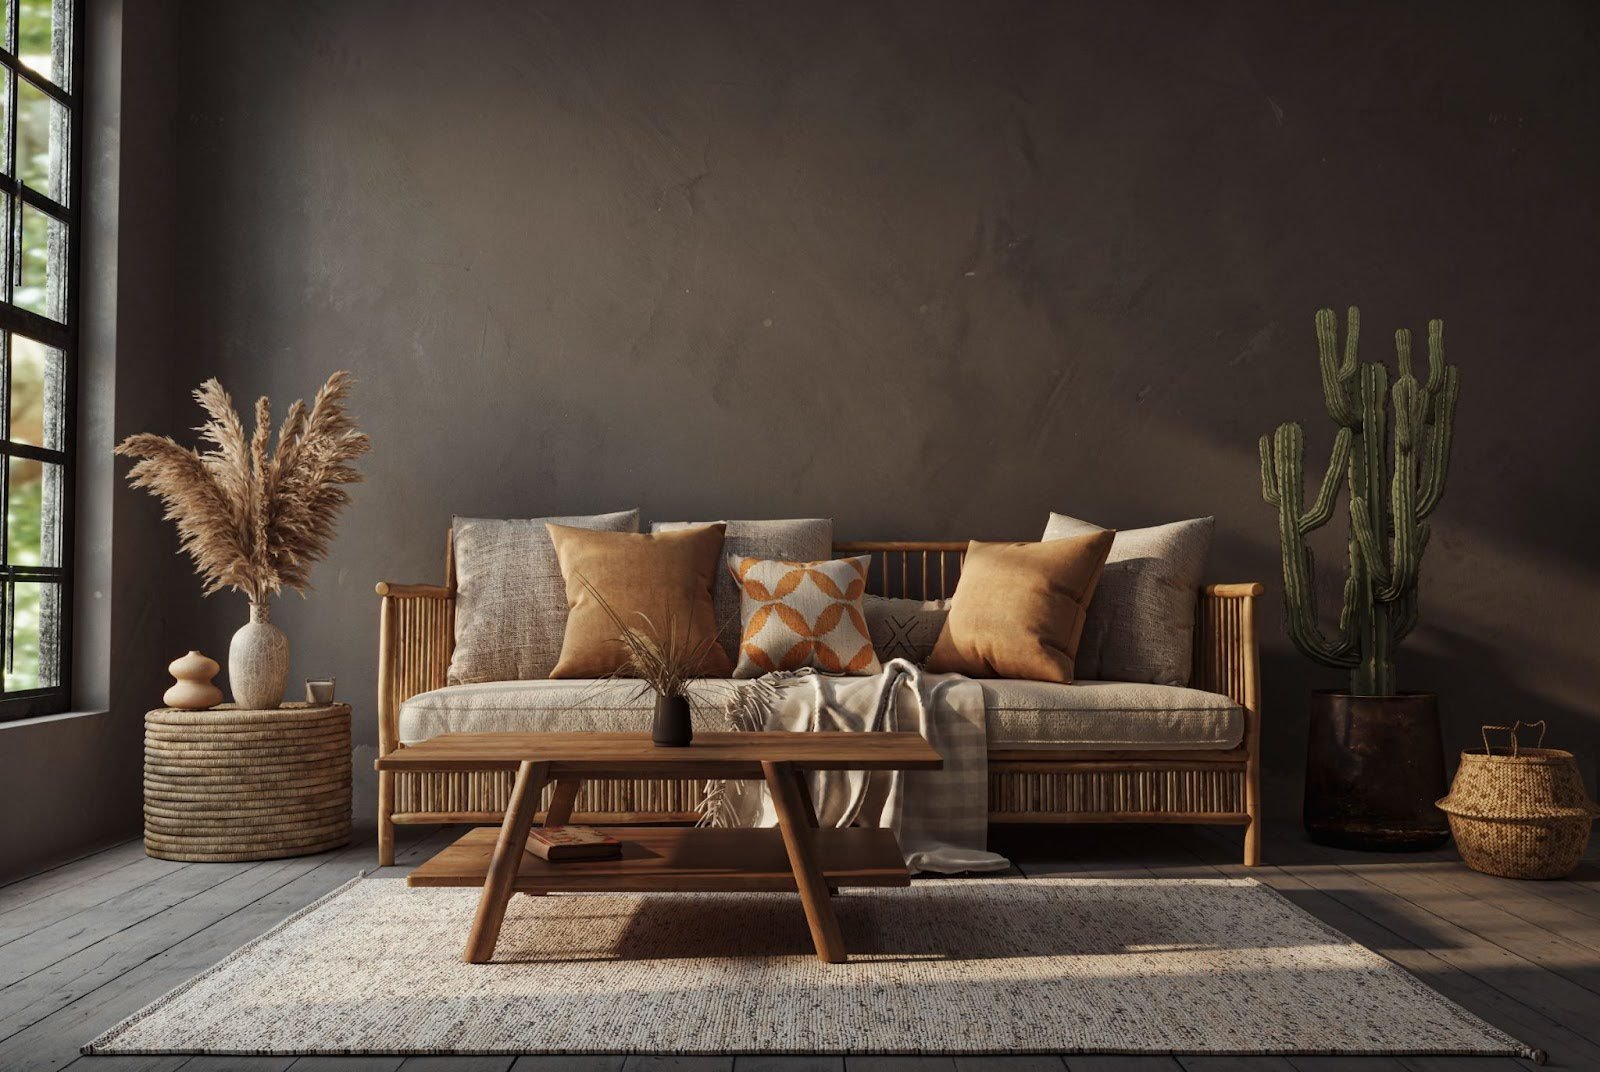
Walking to just about any modern home today, you’ll see sleek, modern fixtures, flat white paint, and smooth, non-textured, dare say ‘boring,’ walls. A house finished with limewash, on the other hand, offers something a little different and far more exciting.
This centuries-old technique adds a subtle, natural texture and character that feels very “of olden times,” yet from a uniquely refreshing standpoint. This is probably because interior limewashing does something to interiors that standard paint simply can’t.
Made from crushed limestone, water, and mineral pigments, limewashing creates a chalky, organic-looking surface that almost feels alive. Plus, it’s breathable, eco-friendly, and develops even more depth over time, characteristics you wouldn’t expect from synthetic paint.
In this guide, we’ll show you how you can limewash any room in your house, whether it’s a limewash living room, a limewash bedroom, a limewash kitchen, or a limewash dining room, and achieve that stunning look you’ve been dreaming of.
What is Limewash?
As designer Lori Dennis explains in her blog, limewash is a thinner and lighter alternative to regular paint, made with three simple ingredients:
- Limestone
- Water
- Pigment
It’s a minimalist formula that goes back centuries. In fact, if you look back to ancient Roman construction, you can see instances of limewash used as house paint. It became a staple long before modern paints as we know them existed.
Unlike thicker, multi-coat plasters, such as Venetian plaster, limewash is subtler and lighter. You get all the depth you want in a limewash house finish, without the sheen or density of paint.
The Benefits of Choosing a Limewash House Finish
Over the past decade, homeowners have rediscovered limewash for both practical and aesthetic purposes. Some of the major benefits include:
- Breathable and Moisture-Regulating – Makes it ideal for brick, plaster, and masonry.
- Eco-Friendly – It’s non-toxic and made with low or zero VOCs.
- Naturally Anti-Bacterial and Mold-Resistant – All thanks to its high pH value
- Unique Texture – Tons of variation with each brush stroke.
- Ages Beautifully – Over time, limewash develops a gorgeous patina
The Limitations of a Limewash House Finish
As great as limewash may seem, it’s not perfect for every situation.
For starters, applying limewash is much more labor-intensive than rolling on latex paint. You often have to paint three to four thin coats, depending on how porous your surface is. Touch-ups after the fact can also be difficult to blend. In a high-impact area where you might spend a lot of time scrubbing, such as a limewash kitchen, it’s also not very suitable.
If you absolutely must have it in a wet zone like a kitchen or bath, we recommend using a wax seal or an alternative finish for better protection.
What You Need to Limewash Your House

If you’re going to go the DIY route instead of having a professional painter come in, the most important first step is having the right tools in place.
In this case, start by checking the surface you want to limewash. A limewash house finish requires the right base surface to ensure proper adhesion. Limewash bonds best to porous surfaces like brick, masonry, stucco, or plaster. If you have modern drywall, you’ll want to apply a mineral-based primer to help the coating adhere.
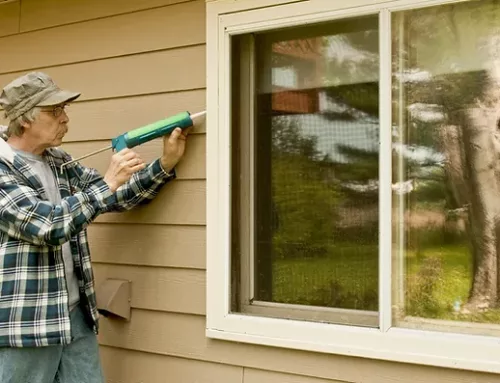
How to Prep Your Surface for Limewashing
Prep work makes the best work! Here are a few ways to make sure your walls are ready for limewashing!
- Clean your walls thoroughly to remove any dust, grease, mold, or old coatings.
- Patch or repair cracks or imperfections in the wall.
- If you’re working with a non-porous surface, prime it before applying your first limewash coat.
Recommended Tools for Limewashing
- A natural-bristle brush for broad, textured strokes
- Scrapers or towels to blend your limewash and create textural variation
- Mixing buckets for water and pigment
- Drop cloths, masking tape, and protective coverings
Limewash Application Styles and Techniques
One of the neat things about a limewashed house is that the way you brush can have a major impact on the character and texture of your wall, depending on how you apply it. With vertical strokes, you’ll get a more consistent, linear look. With horizontal strokes, you can stretch your walls out and make your space feel wider.
A creative finish characterized by a softer, organic look is the cloud pattern.
Since limewash is applied in thin, overlapping layers, you’ll only begin to see depth gradually. We recommend using the wet-edge technique to keep edges moist as you move across the wall. This will help avoid any lap marks.
It’s also important to remember that light can have a big impact on limewash compared to regular interior painting. Natural and artificial light will play across the surface, so keep that in mind as you decide on the colors and textures you want your wall to have.
Room-by-Room Applications for Limewash
Limewash can adapt beautifully to different rooms, though the way in which you apply it should be unique to that specific space and its overall use.
Limewash in Living Rooms & Dining Areas
We love a good limewash living room or limewash dining room. Limewashed walls pair really nicely with wood beams and stone fireplaces (or pretty much any natural elements). As for style, we recommend vertical strokes for a calmer overall structure.
Limewash in Bedrooms
A limewash bedroom is great for a cozy retreat. You can almost create a cocoon effect by painting the ceiling and walls in the same color. For a quiet bedroom space, we’d go with a soft neutral or muted shade.
Limewash in Bathrooms
For any wet rooms, we recommend shorter brush work and saturated colors, such as black or deep charcoal. A bathroom can also benefit from protective sealant or damp-tolerant limewash.
Limewash in Kitchens

While a limewash kitchen can look absolutely stunning, it’s equally important to apply a wax seal on top to protect from splashes. According to the great Jane Schofield, the author of Lime in Building, mixing your limewash with raw linseed oil can greatly improve its water-shedding ability.
Bring the Timeless Look of Limewash to Your House
Perhaps one of our favorite qualities of limewash is that it looks great with almost any interior finish, from Coastal Contemporary to Modern Mediterranean. Whether you’re dreaming of a limewash living room, a timeless limewash bedroom, a stylish limewash kitchen, or a uniquely elegant limewash dining room, we can help.
If you’d like to learn more about how a limewash house could transform your interior space, get in touch with our team at Liberty Painting for a free consultation.


