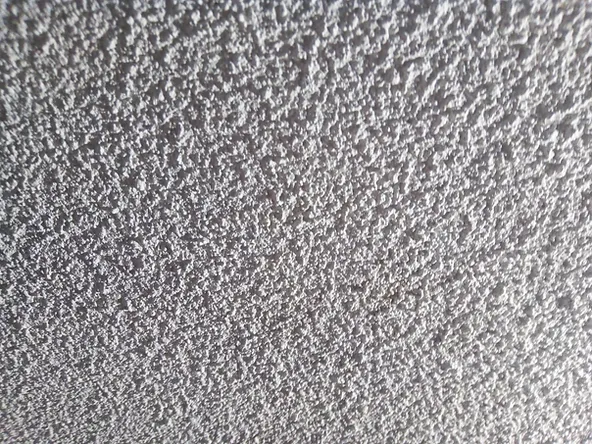
If you’re looking to bring your home back from the 70s and transform it into a modern space, you’ve come to the right place. Popcorn ceilings, also known as acoustic ceilings, were popular in the past but have become outdated and less desirable over time. At Liberty Painting, we’ll provide you with expert tips, insights, and step-by-step instructions on how to remove popcorn ceilings effectively, ensuring a smooth transition and helping you enhance the overall appeal of your home.
Why Remove Popcorn Ceilings?
Popcorn ceilings were commonly used in the 1970s due to their acoustic properties and ability to hide imperfections. However, they come with several downsides that make their removal a worthwhile endeavor:
- Outdated Appearance: Popcorn ceilings can give your home a dated and retro look, which may not align with your desired aesthetic.
- Dust and Allergen Accumulation: The textured surface of popcorn ceilings tends to accumulate dust and allergens, which can lead to respiratory issues and worsen allergies.
- Difficulty in Cleaning: Cleaning popcorn ceilings can be a daunting task, as the texture makes it challenging to remove stains or debris effectively.
- Reduced Lighting: The rough texture of popcorn ceilings can cast shadows and absorb light, making rooms appear darker and smaller than they actually are.

Steps for Popcorn Ceiling Removal
Now that we understand the motivations behind popcorn ceiling removal, let’s dive into the step-by-step process to achieve a smooth and updated ceiling.
Step 1: Preparing for Popcorn Ceiling Removal
Before you begin the removal process, it’s crucial to adequately prepare the area and ensure your safety. Here’s what you need to do:
- Gather Supplies: Equip yourself with safety goggles, gloves, a dust mask, a ladder, plastic sheets, painter’s tape, a spray bottle filled with water, and a scraping tool.
- Clear the Room: Remove all furniture, decorations, and fixtures from the room or cover them securely with plastic sheets.
- Protect Flooring: Lay down drop cloths or additional plastic sheets to protect your flooring from potential damage or debris.
Step 2: Testing for Asbestos
It’s important to note that some popcorn ceilings installed before the 1980s may contain asbestos, a hazardous material. To ensure your safety, it’s recommended to have a sample of your ceiling tested for asbestos by a certified professional. If asbestos is present, consult with an expert for appropriate removal methods.
Step 3: Wetting the Ceiling
To make the removal process easier and minimize dust, it’s essential to wet the popcorn ceiling before scraping. Follow these steps:
- Fill the spray bottle with water.
- Mist a small section of the ceiling and allow it to absorb the moisture for a few minutes.
- Repeat the process for the entire ceiling, working in manageable sections.
Step 4: Scraping the Popcorn Ceiling
Now that the ceiling is properly dampened, it’s time to remove the popcorn texture. Follow these instructions:
- Hold the scraping tool at a slight angle and gently scrape the ceiling, starting from one edge of the section.
- Collect the scraped texture in a bag or a disposable container to minimize mess.
- Continue scraping until the entire ceiling is smooth and free of popcorn texture.
Step 5: Repairing and Painting the Ceiling
After removing the popcorn texture, it’s common to find imperfections or minor damages. Here’s how to address them:
- Repairing Imperfections: Fill any cracks, holes, or uneven areas with a suitable patching compound or joint compound. Smooth it out using a putty knife and let it dry according to the manufacturer’s instructions.
- Sanding: Once the compound is dry, lightly sand the repaired areas to achieve a smooth and seamless finish.
- Priming and Painting: Apply a coat of primer to the entire ceiling to ensure proper adhesion of the paint. Once the primer is dry, paint the ceiling using a roller or a paint sprayer, choosing a color that complements your desired aesthetic.

Conclusion
Congratulations on successfully removing your popcorn ceiling and transforming your home! By following our guide, you’ve taken a significant step towards modernizing your living space. If you’re considering professional assistance for your popcorn ceiling removal and home painting needs, reputable companies like Liberty Painting can provide expert services to ensure a seamless and high-quality paint job that complements your newly transformed ceiling. Consult us for free to discuss your vision and explore the best options for painting your renovated space. Enjoy the fresh, updated look and added value to your home!


